- Tools and Materials Needed
- Classic Red Nails – Inspired by Marilyn Monroe
- Nude and Neutral Tones – Inspired by Meghan Markle
- Bold and Bright Colors – Inspired by Kylie Jenner
- Glitter and Glam – Inspired by Beyoncé
- Minimalistic Designs – Inspired by Zendaya
- Intricate Nail Art – Inspired by Cardi B
- Tips for Long-Lasting Manicures
Celebrities often set the trends in fashion and beauty, and their stunning nail art is no exception. From red carpet events to casual Instagram posts, celebrities showcase a range of nail designs that inspire us beauty enthusiasts worldwide.
Let’s see some of the most iconic celebrity nail looks and provide step-by-step instructions on how to recreate them at home. Whether you’re a novice or a nail art pro, you’ll find tips and tricks to achieve salon-quality results.
Note: We order, test and try various beauty products for hair, nails and skincare, to give you the best reviews thatwe can. Our articles contain our affiliate links – meaning we get a small comission per each sale at no cost for the buyer, which helps us cover the costs of running the site.
Nail art has become a powerful form of self-expression, and celebrities are at the forefront of this trend. Their manicures often reflect their personalities, styles, and the latest fashion trends. With a little practice and the right tools, you can recreate these iconic looks at home. This guide will walk you through the process, ensuring your nails look red carpet-ready.
Tools and Materials Needed
Before diving into specific nail designs, ensure you have the following tools and materials:
- Nail polish remover
- Cotton pads
- Nail clippers
- Nail file
- Cuticle pusher
- Base coat
- Top coat
- Nail polishes (various colors)
- Nail art brushes
- Dotting tools
- Nail stickers and decals
- Glitter and rhinestones
- Small dish for water (for decals)
Having these essentials on hand will make the process smoother and more enjoyable.
Classic Red Nails – Inspired by Marilyn Monroe
Marilyn Monroe’s classic red nails are timeless and exude glamour. This look is perfect for any occasion and can be achieved with just a few steps.
Step-by-Step Guide:
- Prep Your Nails:
- Remove any old polish with nail polish remover.
- Trim and file your nails to your desired shape.
- Push back your cuticles gently.
- Base Coat:
- Apply a thin layer of base coat to protect your nails and ensure a smooth application.
- Apply Red Polish:
- Choose a vibrant red nail polish.
- Apply the first thin layer, starting from the center of the nail and then moving to the sides.
- Allow it to dry completely before applying a second coat.
- Top Coat:
- Finish with a glossy top coat to add shine and longevity to your manicure.
- What We Recommend For Best Results: OPI Nail Lacquer, Big Apple Red, Red Nail Polish, 0.5 fl oz

Nude and Neutral Tones – Inspired by Meghan Markle
Meghan Markle’s elegant and understated nude nails are perfect for a sophisticated and chic look. This style is versatile and suits any outfit or occasion.
Step-by-Step Guide:
- Prep Your Nails:
- Follow the same preparation steps as mentioned above.
- Base Coat:
- Apply a thin layer of base coat.
- Apply Nude Polish:
- Select a nude or neutral nail polish that complements your skin tone.
- Apply the first coat and let it dry completely.
- Apply a second coat for a more opaque finish.
- Top Coat:
- Finish with a top coat for a glossy or matte finish, depending on your preference.
- What We Recommend For Best Results: OPI Nail Lacquer, Coconuts Over OPI, Nude Nail Polish, Fiji Collection

Bold and Bright Colors – Inspired by Kylie Jenner
Kylie Jenner is known for her daring and vibrant nail colors. This look is perfect for those who love to make a statement with their nails.
Step-by-Step Guide:
- Prep Your Nails:
- Remove old polish, trim, file, and push back cuticles.
- Base Coat:
- Apply a thin layer of base coat.
- Apply Bright Polish:
- Choose bold colors like neon pink, electric blue, or bright orange.
- Apply the first coat and let it dry completely.
- Apply a second coat for full coverage.
- Top Coat:
- Use a top coat to seal and protect your manicure.
What We Recommend For Best Results: Modelones Color Changing Gel Nail Polish, 6 Colors Summer Pink Blue Purple Orange Neon Mood Temperature Change Gel Polish

Glitter and Glam – Inspired by Beyoncé
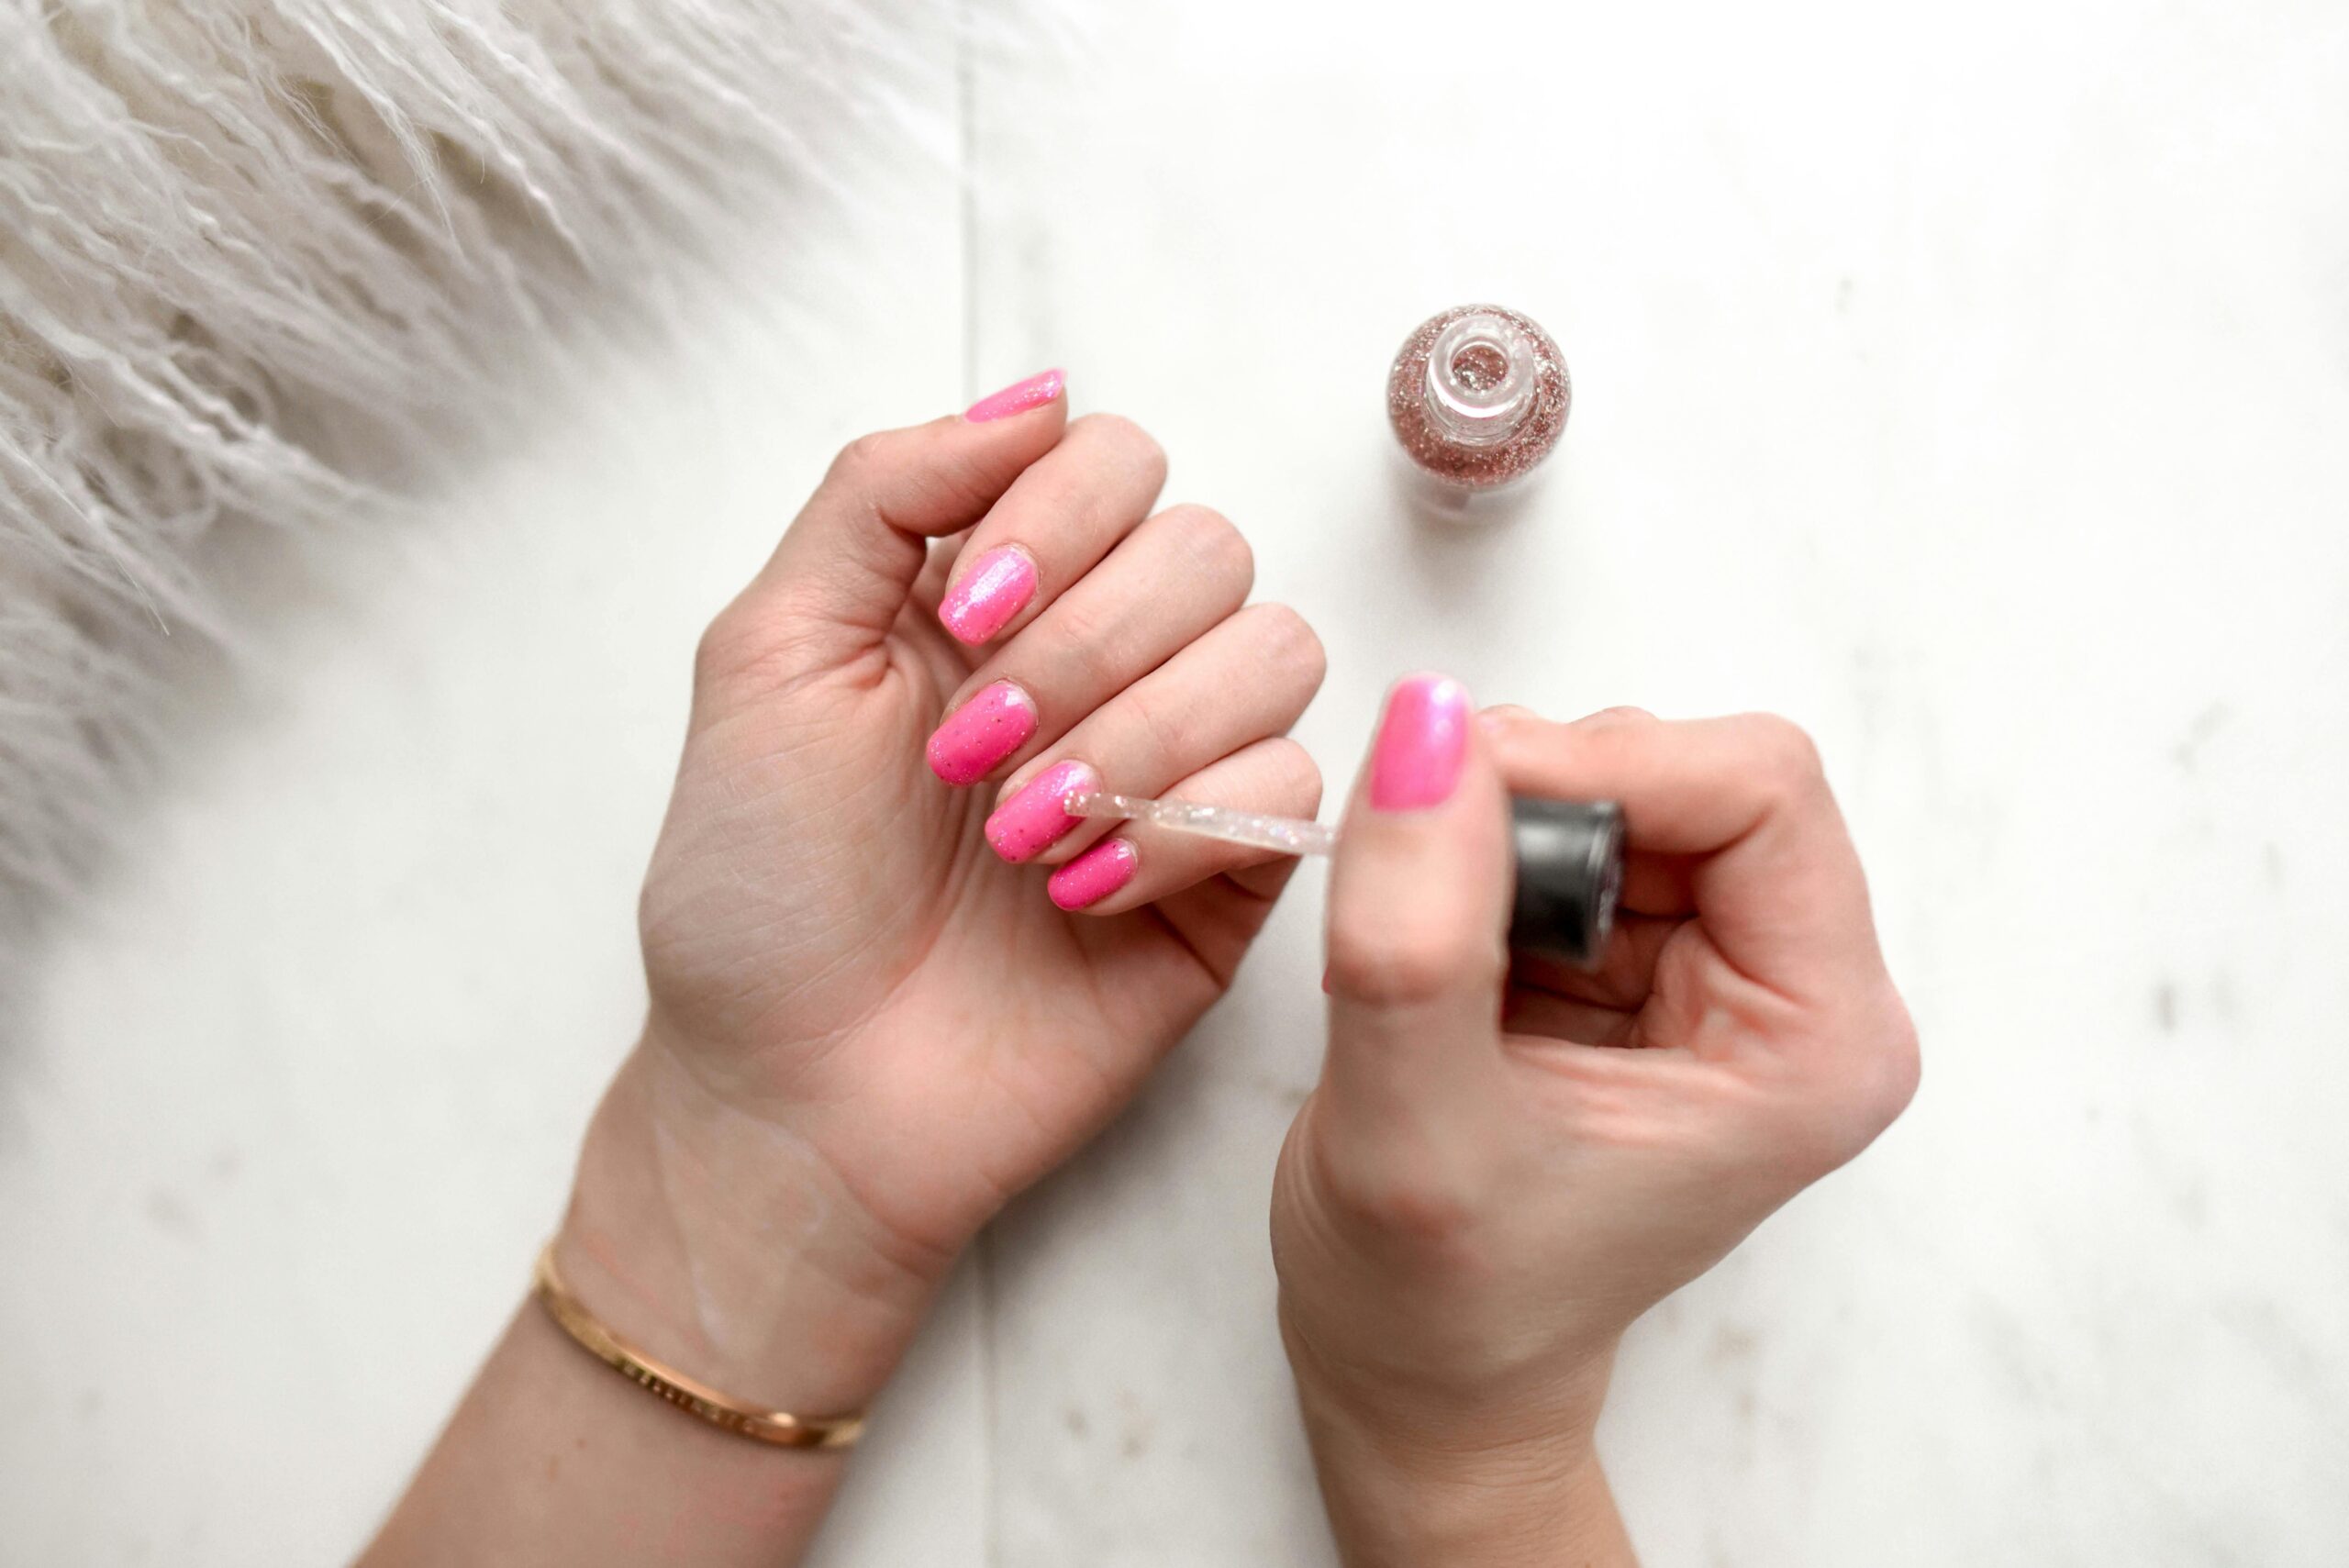
Beyoncé’s glittering nails are the epitome of glamour and luxury. This look is perfect for special occasions or when you want to add some sparkle to your life.
Step-by-Step Guide:
- Prep Your Nails:
- Follow the same preparation steps.
- Base Coat:
- Apply a thin layer of base coat.
- Apply Base Color:
- Apply a base color of your choice. Silver, gold, or any dark shade works well.
- Add Glitter:
- While the base color is still tacky, apply loose glitter using a brush or sprinkle directly onto the nails.
- Alternatively, use a glitter nail polish for easier application.
- Top Coat:
- Seal the glitter with a top coat to prevent chipping and add shine.
- What We Recommend: Modelones Pink Glitter Gel Nail Polish Set, 6 Colors Hot Pink Tones Summer Sparkle Pink Shades Shimmer Cat Eye Gel

Minimalistic Designs – Inspired by Zendaya
Zendaya’s minimalistic nail designs are perfect for those who prefer subtle and chic manicures. These designs are simple yet stylish and can be achieved with ease.
Step-by-Step Guide:
- Prep Your Nails:
- Follow the same preparation steps.
- Base Coat:
- Apply a thin layer of base coat.
- Apply Base Color:
- Choose a neutral base color like soft pink or beige.
- Apply the first coat and let it dry completely.
- Apply a second coat if needed.
- Minimalistic Design:
- Using a thin nail art brush or a dotting tool, create simple designs like dots, lines, or small shapes.
- You can use black, white, or metallic polish for the designs.
- Top Coat:
- Finish with a top coat to seal your design and add a glossy finish.
Intricate Nail Art – Inspired by Cardi B
Cardi B’s intricate nail art is bold, detailed, and extravagant. This look is perfect for those who love to experiment and showcase their creativity.
Step-by-Step Guide:
- Prep Your Nails:
- Follow the same preparation steps.
- Base Coat:
- Apply a thin layer of base coat.
- Apply Base Color:
- Choose a base color that complements your design.
- Apply the first coat and let it dry completely.
- Apply a second coat if needed.
- Create Intricate Designs:
- Use nail art brushes, dotting tools, and stickers to create detailed designs.
- Incorporate elements like rhinestones, studs, and decals.
- Be patient and allow each layer to dry before adding more details.
- Top Coat:
- Finish with a top coat to protect your intricate artwork and add shine.
- For Best Results We Recommend: Born Pretty Glitter Sequins Gel Nail Polish Sparkly And Shiny

Tips for Long-Lasting Manicures
To ensure your DIY manicure lasts as long as possible, follow these tips:
- Prep Properly: Proper nail preparation is key to a long-lasting manicure. Make sure your nails are clean and dry before applying polish.
- Thin Layers: Apply thin layers of polish to prevent chipping and bubbling.
- Seal the Edges: Make sure to seal the edges of your nails with both base and top coats.
- Avoid Hot Water: Avoid hot water for a few hours after your manicure to prevent the polish from softening.
- Moisturize: Keep your cuticles and nails moisturized to prevent peeling and breakage.


